Tips And Tricks To Getting The Perfect Red Lips In Six Steps
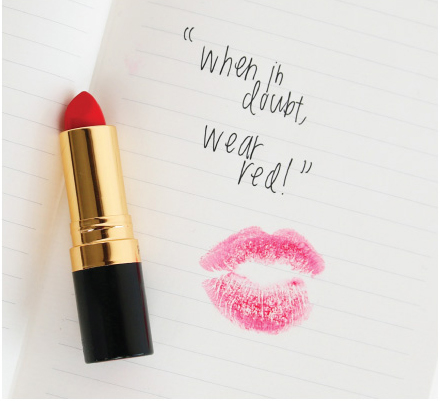
What's more elegant than a hint of old Hollywood glamor? Completely iconic, a swipe of scarlet lipstick does so much more than just add a pop of color. For us, it makes our hearts skip a beat! Try these tips for perfecting this classically elegant look and head out with a bold new confidence.

Step 1:
Find Your Shade
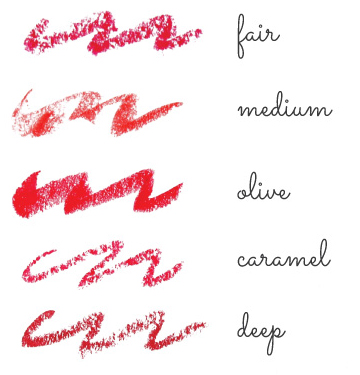
Making sure you select the just right lipstick for your complexion can be a little intimidating, but fear not! There's a perfect red for every skin tone.
Fair: Look for red lipsticks with a blue undertone. Think raspberry!
Medium: Orangey-reds look best, especially when you have a little bit of a tan.
Olive: Earthy rust-reds and brick reds bring out the warmth in your complexion.
Caramel: Stick with cool lip hues that run right in the middle--not too dark, not too light.
Deep: Merlot and warm-based cherry reds are your best friends.
Step 2:
Prime Time
While it's tempting to just go for it, make sure your lips are thoroughly buffed and moisturized before you apply the color. Use a soft toothbrush or lip scrub to gently buff away any dry skin, then swipe a thin layer of balm across your lips for a hint of moisture. This will create a perfect "canvas" for your color.
Step 3:
Draw the Line
An invisible line, that is! One of our favorite beauty secrets is clear lip liner. Use it to trace a thin line just outside the edge of your lips. This will keep the bold red color of your lipstick from bleeding or feathering and keep your lipstick in place. It's also much easier to "match" to your lip shade, of course!
Step 4:
Color Up
Now for the fun part. Using a lip brush, carefully fill in your lips with color. The brush will help you apply the color more accurately and make filling in any creases a breeze. Be sure to take your time and use short, small brushstrokes for extra precision.
Step 5:
Set It
To set the color, give your lips a little "kiss", bringing your lips together to press in the color. Then, fold a tissue in half and blot to remove any excess color. For extra staying power, place another tissue over your lips, and dust a little translucent powder over the top. This will help pick up any extra moisture.
Step 6:
Glam it up
Bonus points for matching your tips to your lips! For an extra glamorous look, get a mani in a matching shade. Très chic!
;)